A Guide to Migrating From Google to Office 365
When it is time to start migrating from Google Suite to Office 365 IT personnel need to prepare for the transformation with an organized comprehensi...
When it is time to start migrating from Google Suite to Office 365, IT personnel need to prepare for the transformation with an organized, comprehensive plan. The following provides a technical, step-by-step guide for this process.
The Steps for Effectively Migrating From Google Apps to Office 365
1. Learn About Migrating IMAP Mailboxes to Office 365
Before the IT department begins the migration process, it is paramount that you have a comprehensive understanding of what it entails. Microsoft’s ‘What You Need To Know About Migrating Your IMAP Mailboxes To Office 365’ guide will provide this. It covers various considerations, how the migration will effect users,a brief overview of how the migration works, and how to get started.
2. Account Passwords and 2-Step Verification
Google Mail views Outlook as a less secure app. Because of this, it requires both a password and 2-step verification for G Suite users to connect the app to Office 365.
3. Domain Verification
Once the previous steps are completed, it is time to start the process by first migrating Gmail. These first steps only take care of email migration. Further down, we discuss the additional steps of separately migrating the calendar and contact information.
Before any of these processes can take place, though, IT must verify that the organization owns the domain connected to their Google Enterprise or Google for Business accounts. If this is an issue, companies can opt to use companyname.onmicrosoft.com as their domain, which is part of their Office 365 subscription and add users to Office 365.
If the business opts for domain verification, you will be prompted to complete this during the Office 365 setup by adding the TXT record that the setup wizard provides at the company’s domain host provider. The steps to complete this are here. Depending on the DNS host provider, the TXT record will be completed in different ways. For those who use Google as their provider, the instructions can be found here. For those who use an alternative provider, the steps can be found here.
4. Add Users
Adding users can be done in bulk or one at a time. Either way, a license is also added to each user. In order to successfully add users that can also migrate their email into Office 365, they must each have their own mailbox and have a license that includes the Exchange Online plan.
Once this step is completed, IT must pause the setup wizard before reaching the ‘Set Up Domain’ step. You will only complete the rest of the setup process after you have migrated the Gmail mailboxes.
5. Create a List of Mailboxes to Migrate
When you have paused the Setup Wizard, you can begin the process of migrating the Gmail mailboxes. Before you can start, you must first list every Gmail mailbox in a migration file that can be migrated into Office 365—Excel 2007, 2010, or 2013 are the best options.
IT also needs to reset all user passwords and create a temporary password, which should then be included in the migration file. This can only be completed by a G Suite administrator.
The list itself can be migrated all at once or in batches, but only 50,000 mailboxes can be imported in a single file, the file size must be 10 MB or smaller, and each user must have their own row. The following are the steps for creating the list:
- Sign into the G Suite admin console.
- Select ‘Users’.
- Keep G Suite console open and sign into the Office 365 admin center.
- Select ‘Users’ and then ‘Active users’.
- Keep Office 365 admin center open and open Excel.
- In Excel, label A1 as ‘EmailAddress’—Office 365 mailboxes, B1 as ‘UserName’—Gmail mailbox usernames, and C1 as ‘Password’—Gmail mailbox app password/the reset temporary password.
- Using the G Suite ‘Users’ list, select each individual user, and enter the email address, username, and password with each mailbox getting their own row.
- Save the document as a CSV file type.
6. Connect Office 365 to Gmail
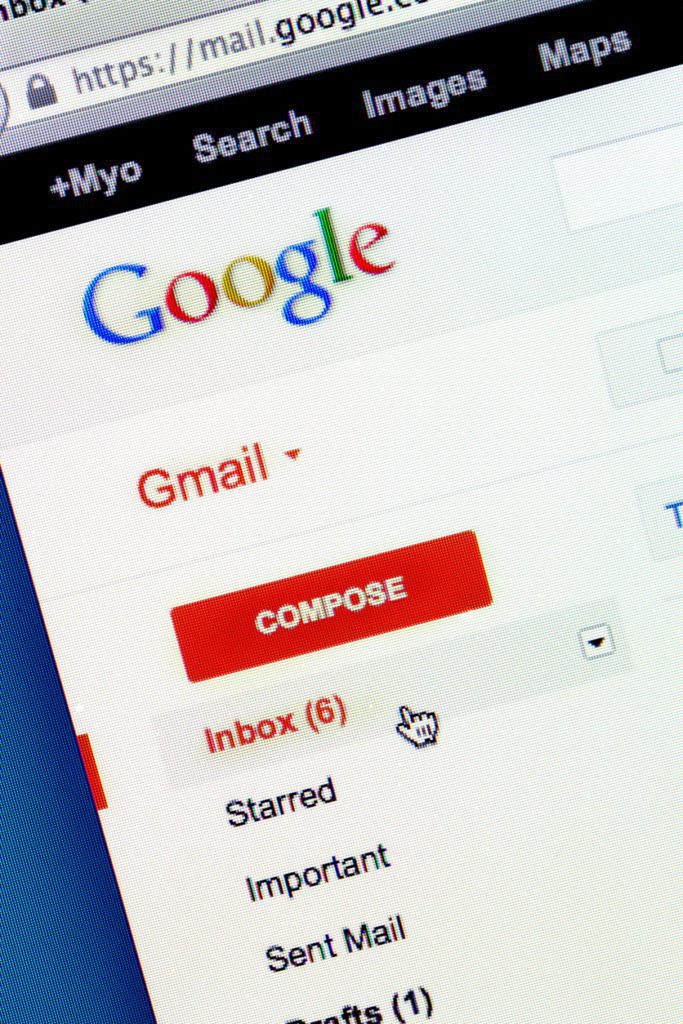 Close up of Google Gmail website on the web browser.
In order to create the connection between the Gmail mailboxes and Office 365, IT needs to input the following appropriate migration endpoint settings:
- Open the Exchange admin center.
- Select ‘Recipients’, ‘Migration’, ‘More…’, and finally ‘Migration endpoints’.
- Select ‘New +’ to add a migration endpoint.
- In the ‘Select the migration endpoint type’ page, select ‘IMAP’.
- In the ‘IMAP migration configuration’ page, keep the default setting and input ‘imap.gmail.com’ as the IMAP server.
- Select ‘Next’.
- In the ‘Enter general information’ page, enter any ‘Migration endpoint name’ and leave other boxes blank, unless you prefer to not use the default inputs.
- Select ‘New’.
7. Create a Migration Batch
It is now time to migrate a batch of Gmail mailboxes to Office 365. To ensure the process goes smoothly, it can be helpful to first migrate a test batch that contains a handful of mailboxes. Provide a clear indication of how long it will take to migrate all mailboxes so IT can run the test batch at the same time of day they will be migrating the full batch and then multiply the length of time by the size difference.
To Migrate the Batch:
- Open the Office 365 admin center and select ‘Admin centers’ and then ‘Exchange’.
- Click on ‘Recipients’ and then ‘Migration’.
- Select ‘New +’ and then ‘Migrate to Exchange Online’.
- Select ‘IMAP migration’ and then ‘Next’.
- This will take you to the ‘Select the users’ page. Here you will select ‘Browse’ and choose the Excel migration file. Office 365 will then scan the file to verify it.
- Check that the number of users Office 365 identifies is the correct number.
- Select ‘Next’.
- Within the ‘Set the migration endpoint’ page, choose the migration endpoint that was previously created, and select ‘Next’.
- In the ‘IMAP migration configuration’ section, accept default values, and select ‘Next’.
- Within the ‘Move configuration’ section, enter the migration batch name. Additionally, add names of folders that should not be migrated (i.e. Junk Email, Deleted, etc.). Select ‘Next’.
- In the ‘Start the batch’ section, select ‘Browse’ to send a migration report to other individuals. Select ‘Automatically start the batch’ and then ‘new’. This will start the migration.
- Verify the migration in the Exchange admin center by selecting ‘Recipients’, ‘Migration’, and check that the batch name’s status is ‘Synced’ on the migration dashboard.
- If an error occurred, the specific information will be under the associated Mailbox status reports.
- Users should now be able to log in with their username and temporary password. They should create a new password and set the correct time zone. Finally, they should send a test email to the IT department and ensure that their mailbox contains the right emails and folders.
Tip: Lower the time-to-live setting in the DNS server to ensure that there are no mail delivery delays. You can do this in the email system’s mail exchanger records/MX records within the company’s public-facing DNS. It should be set at 3,600 seconds or lower. This should be reset back to a higher time when the synchronization is complete.
8. Update DNS
Once the migration is verified, IT needs to change the MX record so that it points to Office 365, rather than Gmail. The instructions for doing this can be found here and here.
Next, it is time to finish setting up the domain. To accomplish this:
- Sign into Office 365 and select ‘Setup’ then ‘Domains’.
- Select the domain and then select ‘Fix issues’. Then follow the ‘What do I fix?’ instructions.
9. Stop Synchronization
Because it can take up to 3 days for outside email systems to recognize the changed MX record, IT should wait this long before stopping the synchronization with Gmail. During these 72 hours, IT should ensure all users are exclusively emailing within Office 365. When the migration batch is deleted, users will no longer have access to emails in their Gmail mailboxes.
Once IT verifies that all mail is being routed to the Office 365 mailboxes, it is time to delete the migration batch and stop synchronizing. This can be done by going to the Exchange admin center and selecting ‘Recipients’ and then ‘Migration. Choose the batch and select ‘Delete’.
10. Import Google Contacts
To complete this step and the next step, it is necessary to have a desktop version of Outlook installed. Additionally, IT cannot complete this step. Instead, each individual user must import their own Google Contacts and Calendar into their own Outlook account.
The easiest way to complete this step is for each user to create a CSV file with all of their contacts. This can then be imported to Outlook with the Import/Export Wizard. However, for the step-by-step guide for Outlook on the web, Office 2010, and Newer Versions, users can go here.
11. Import Google Calendar
The final step requires users to import their Google Calendar. Outlook offers a wizard to help walk users through this process. Alternatively, there is a video and step-by-step guide here. It will guide users through the process of exporting their Google Calendar as a file and then importing it to their desktop version of Outlook.
Learn More About Migrating From Google to Office 365
Agile IT has successfully migrated over 1.5 million accounts to the cloud securely, seamlessly, and with a fixed price guarantee. Let us manage your Google for Business to Office 365 migration. Request a free quote today: